Needless to say, email is a means of communication that is used all across the board, especially in the corporate world. For every minor piece of information to pass, you have to write an email, because of which there are many useless email threads in your inbox. However, on the other side, there are also many important emails received in a day, that you wouldn’t want to miss at any cost.
But, how can you be aware of each email received, when there is a whole load of them? Well, the simple way of keeping the track of emails you are receiving is by getting email notifications on your iPhone.
So, in order to know how to turn on email notifications on your iPhone and get notified every time you receive a new email, let’s start with the write-up below!
- Turning on Notifications for Email Accounts on iPhone
- Enabling Notifications on iPhone Mail for Specific Contacts
- Receive Notifications for Email Replies on your iPhone
- Unmute iPhone Mail Notifications for a Particular Email Thread
- Enable Push from Mail Settings on your iPhone
- Turning on Gmail Notifications on iPhone
- Enabling Outlook Notifications on iPhone
- Settings Notification Sound for Emails
Turning on Notifications for Email Accounts on iPhone
Want to know how to get email notifications on an iPhone? Well, doing so is a pretty simple and straightforward process. The steps listed below will guide you through it:
- To begin with, on your phone, open the Settings app.
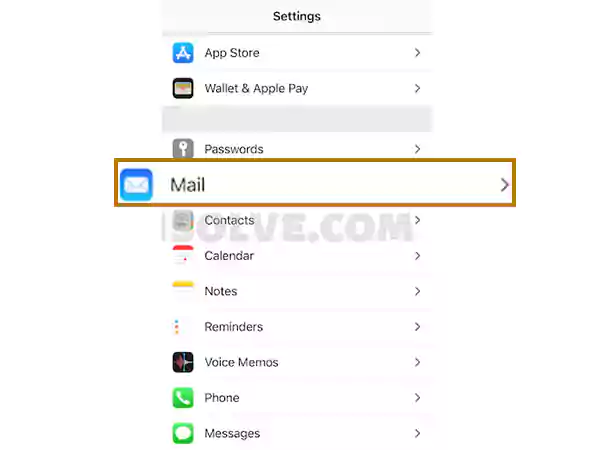
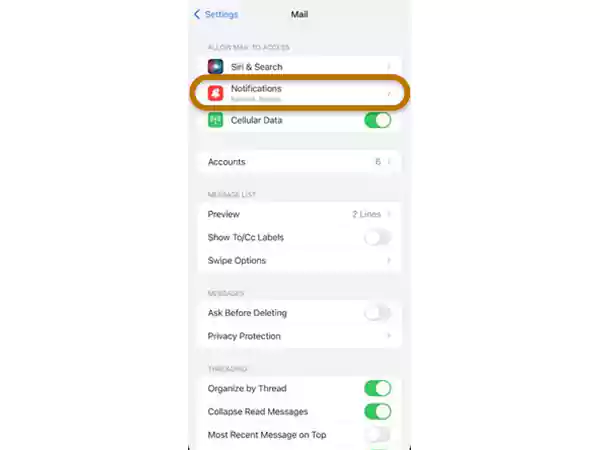
- Inside Settings, scroll down till you see the Mail section and tap on it.
- On the Mail page, tap on the Notifications section.
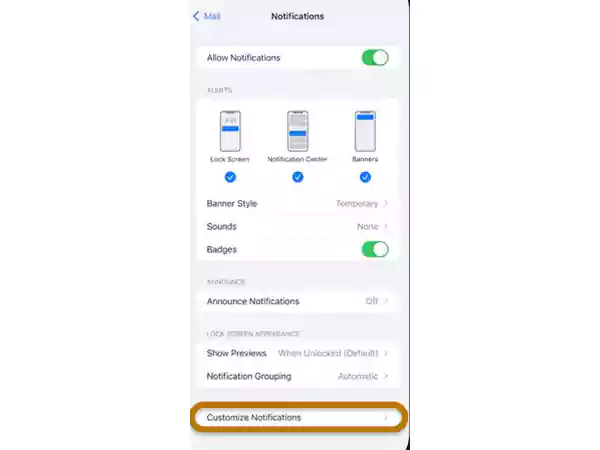
- After that you will be directed to the Notifications page, there, make sure that the Allow Notifications option is turned on.
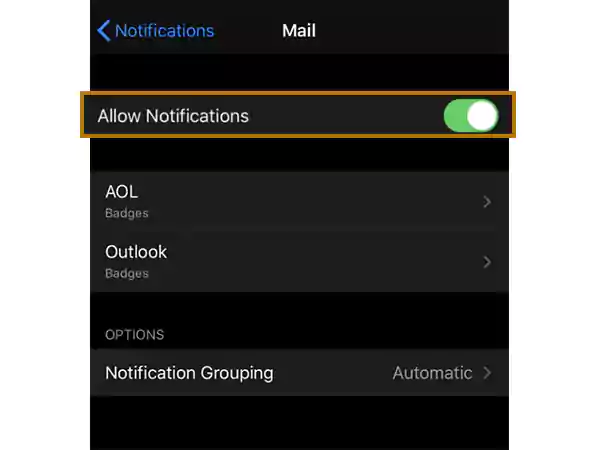
- Then, tap on the email account for which you want to turn on notifications on your iPhone.
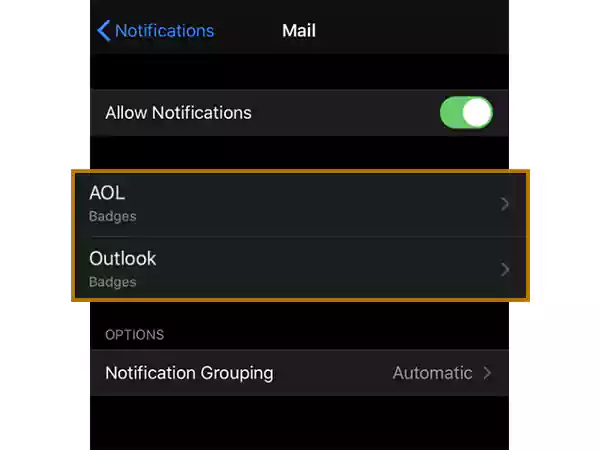
- On the following page that will open, ensure that Allow Notifications is enabled. Make sure that it is turned on for each of the email accounts you want to enable notifications for.
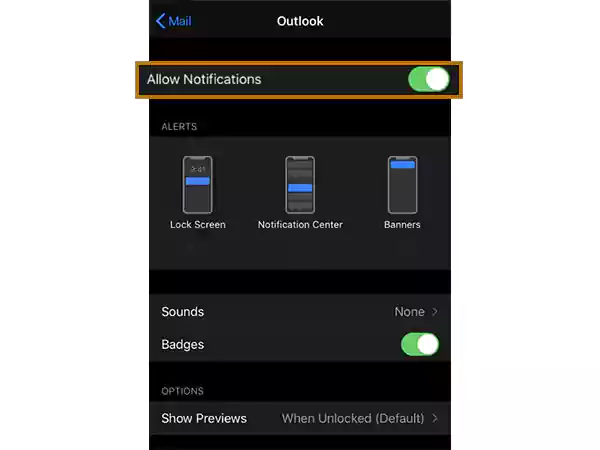
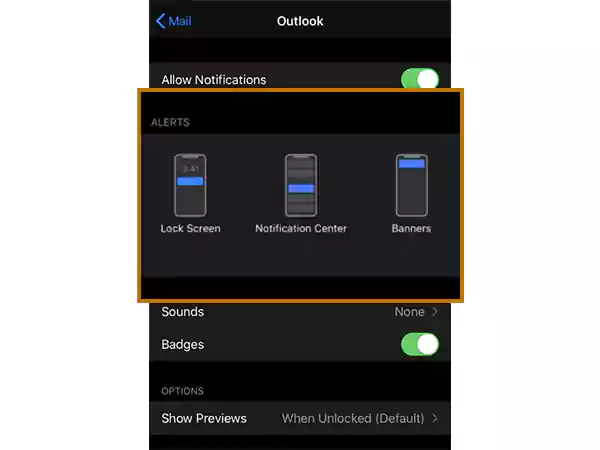
- Further, select one of the Alert options to show notification pop-ups on your phone screen. On the same page, you can also choose the sound of it by tapping on the Sounds option. Additionally, turn on the Badges option to show a badge along with the emails you haven’t read in your Mail app.
And with that done, you now know how to turn on email notifications on your iPhone.
Enabling Notifications on iPhone Mail for Specific Contacts
Sometimes it happens that you are waiting for an important email from a contact, and you do not want to miss reading it. In such a case, you can turn on the email notifications for specific contacts, from whom you are waiting for an email, using the VIP list feature on your iPhone.
Listed below are the steps that you need to follow:
- First off, launch the Mail app on your iPhone.
- Next, you have to click on the VIP email option.
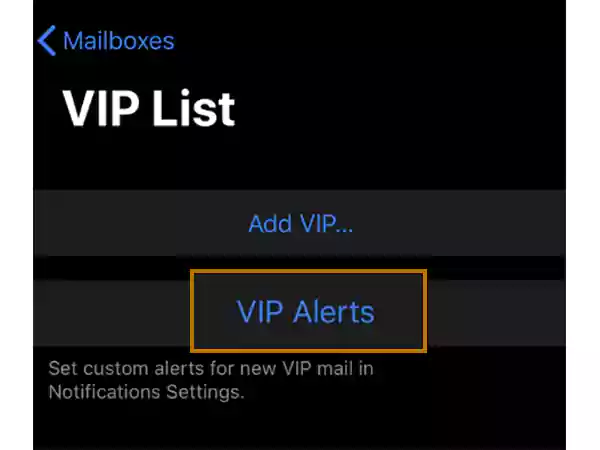
- After that, the list of people you have added to the VIP List will open. There, click on the Add VIP option.

- Thereafter, you will have to choose recipients from your iPhone contacts that you want to add to the VIP List and receive notifications whenever you get an email from them.
- At last, tap on the VIP Alerts option and enable the toggle button of Allow Notifications option. You can set alert settings according to your preferences.
Receive Notifications for Email Replies on your iPhone
Turning on notifications for replies that you get on particular emails, is also possible on iPhone. Want to know how to do that? Jotted down below is the simple process:
- While reading an email: Tap on the reply (back arrow) icon
, and then select the Notify Me option. With this, whenever a reply is received to that email, you will get a notification on your iPhone.
- While writing an email: Tap on the Subject field on your email composing window, then tap on the bell icon
, which will appear in the Subject field, and select the Notify Me option.
Unmute iPhone Mail Notifications for a Particular Email Thread
Apple has included the option to hush email threads in iOS 13 and later so that you won’t receive alerts when someone clicks the Reply All button. Perhaps you mistakenly silenced an email thread, which would explain why your Mail app alerts aren’t working, if you are struggling to get them.
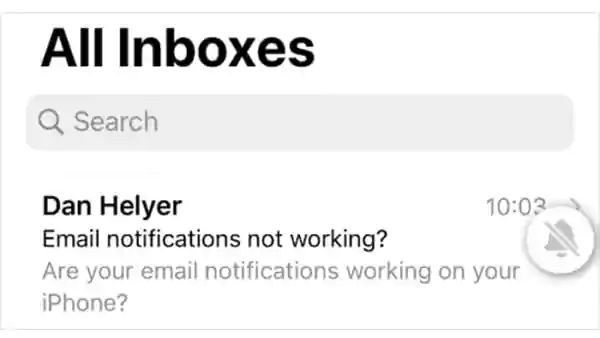
Nevertheless, to resolve this problem, look for any recent emails that have a crossed-out bell icon next to them in the Mail app, it means that these email threads are muted, and you won’t get notifications for them.
However, to again start receiving notifications for them on your iPhone, you have to unmute them. Though there are a number of ways by which you can enable push notifications for email on iPhone, stated below are the steps for the easiest of them all:
- Hit the Mail app icon from your phone’s home screen to open it up.
- In your inbox, look for the emails with the crosses out bell icon. Those are the email threads for which you have muted the notifications.
- Now, swipe that email right, and tap on the More option.
- Finally, from the menu, select the Unmute option, and you will now start getting email notifications for that thread on your iPhone.
Enable Push from Mail Settings on Your iPhone
If you are not getting email notifications on your iPhone, even after enabling it from the settings, it might be probably because you have not selected Push for Schedule for the email account on your iPhone.
In order to know, how to do that, follow the steps listed below:
- Once again, launch the Settings app on your iPhone.
- Scroll down on the settings page and tap on the Mail section.
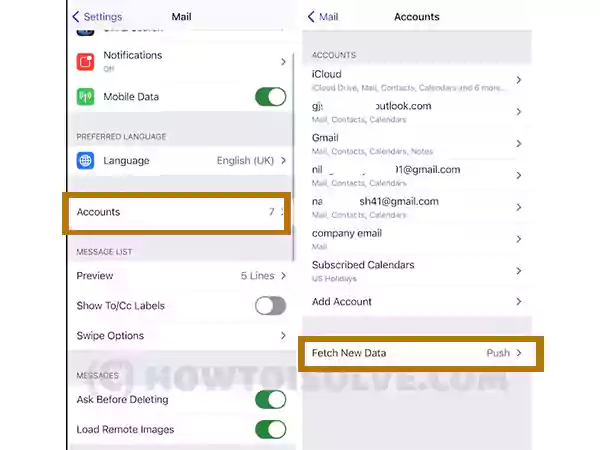
- On the next page, tap on the Accounts option, and then from the next screen tap on Fetch New Data.
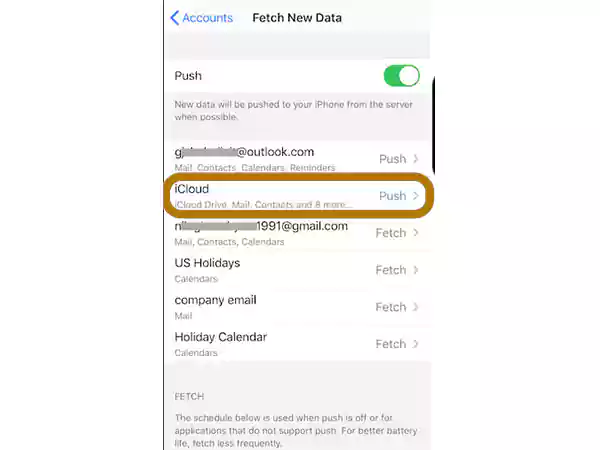
- On the next screen, you will see all the email accounts added to the Mail app. There, tap on the one for which you want to enable push notifications on your iPhone.
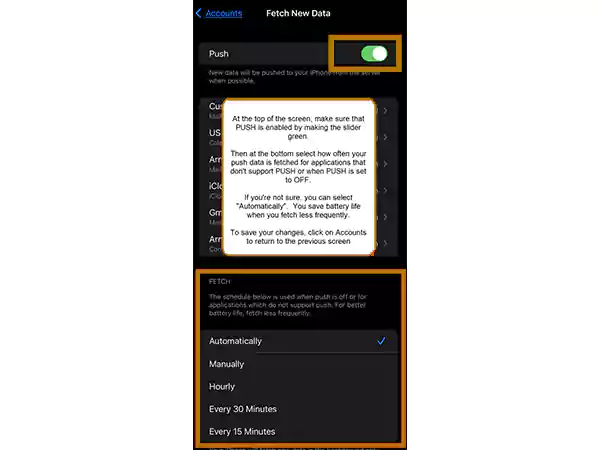
- Finally, make sure that the Push toggle button is turned on. Additionally, make sure that FETCH is set to Automatically, this will help to fetch new emails and show notifications when Push is turned off or is disabled for any email account.
Note: Follow the same steps for all the email accounts for which you want to turn on notifications on your iPhone.
Turning on Gmail Notifications on iPhone
If you are using the Gmail app to access your email accounts, then stated below are the steps using which you can get notifications for your email accounts added to it on your iPhone:
- Open the Gmail app on your iPhone.
- Tap on the hamburger menu icon (three lines) present in the top left corner of the screen.
- Scroll to the bottom of the side menu that will open and click on Settings.
- On the following page, tap on the Email Notification option under the Notification section.
- Finally, select All to receive notifications for all types of emails on your iPhone or select High Priority Only to get notified only when an important email is received.
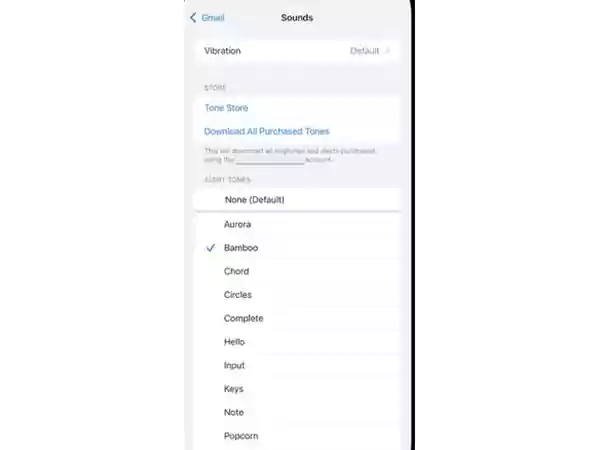
- Now, to set the sound of the notification, tap on the Notification Sounds option, and select the sound from the given list.
Enabling Outlook Notifications on iPhone
Just like Gmail, you can enable settings to receive notifications from Outlook on your iPhone, by following the given steps:
- To begin with, open the Outlook app on your phone.
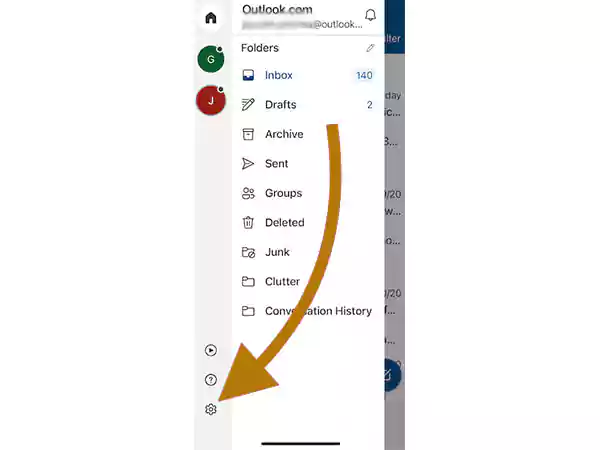
- Tap on your profile icon present in the top left corner of your Outlook home screen.
- A left-side menu section will open, where you have to tap on the Settings icon.
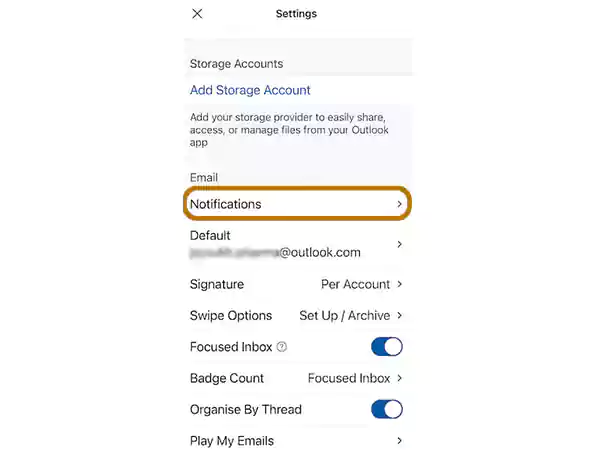
- Tap on the Notifications option from the following Settings page of Outlook.
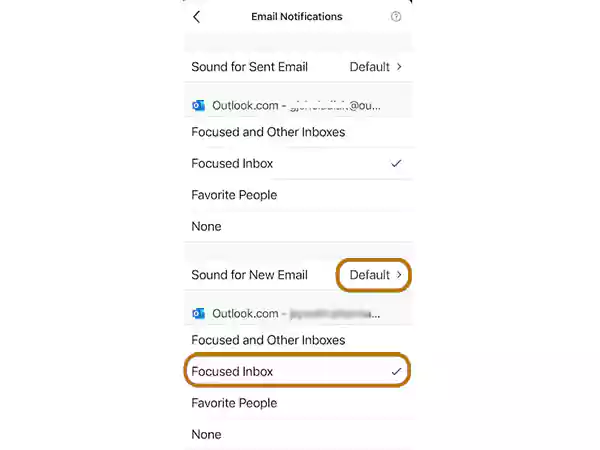
- On the next page, make sure that Focused Inbox is selected. Also, tap on the Sound for New Email option to set the sound of the email notification you will receive from Outlook.
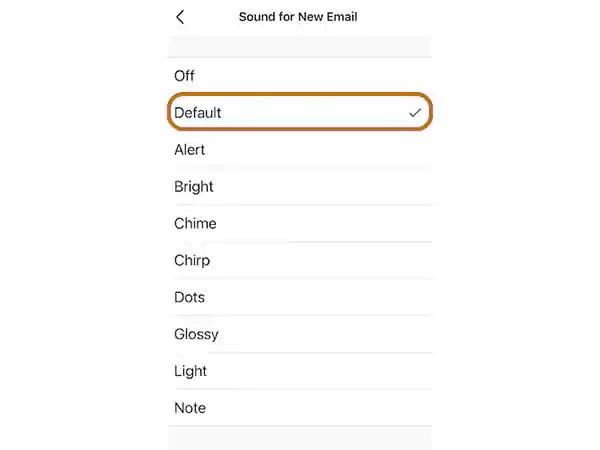
- Finally, scroll down the notification sounds list and select the one you find suitable, and with that done, you will start getting Outlook email notifications on your iPhone.
Note: To enable Outlook notifications for multiple email accounts added to it, switch to the desired account from the side menu that opens after tapping on the profile icon. After that, follow the same steps as above.
Tip: If even after turning on the Outlook notifications from its app, you are not getting them on your phone, it might be because Outlook notifications in general are turned off in your Settings. Thus, go to Settings > Notifications > Outlook > Turn on Allow Notifications and select an Alert option. Customize notifications by using other options available.
Settings Notification Sound for Emails
Nowadays, we all have more than one email account functioning for different purposes, many of which are significant for work and personal use.
However, having the same notification sound for all of them might become confusing, as to which account the email has been received. For eliminating this difficulty, you can set different notification sounds for each email account by following the steps given below:
- First, open the Settings app on your iPhone.
- Scroll down on the Settings page, select Mail, and then tap on the Notifications section.
- At the bottom of the Notifications page that will open, tap on the Customize Notifications option.
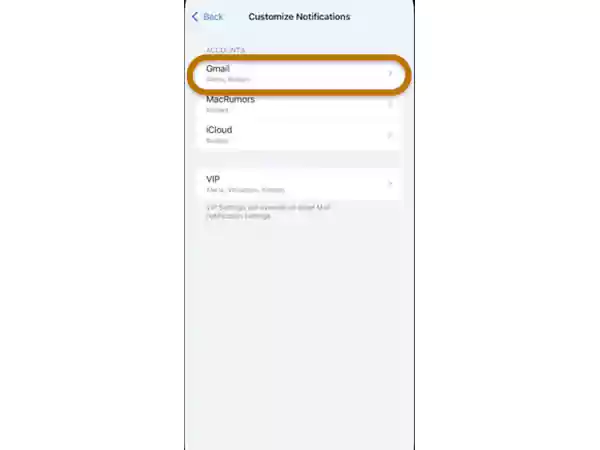
- Select the email account for which you want to set a particular notification sound on your iPhone, from the following page.
- Finally, turn on the Alerts toggle button.
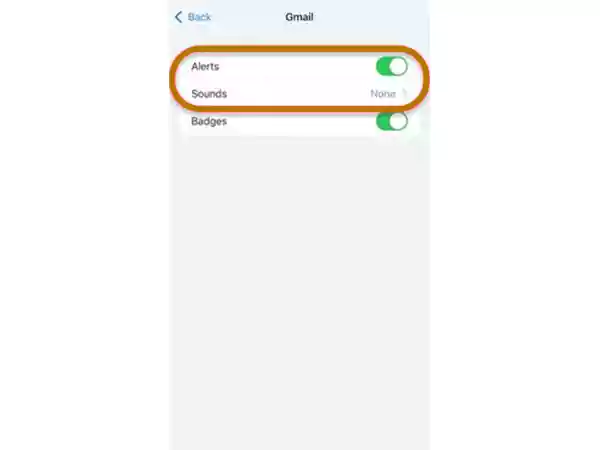
- After that, the Sounds option will become available, tap on it and select one of the sounds for the notifications from that particular email account.